
Want to give your surfboard a unique, eye-catching makeover? Learning how to paint a surfboard allows you to express your personal style and stand out in the lineup. This comprehensive guide will walk you through the entire process, from preparation to the final touches, ensuring a professional-looking finish. Let’s dive into the world of surfboard customization and transform your board into a masterpiece.
Preparing Your Surfboard for Painting
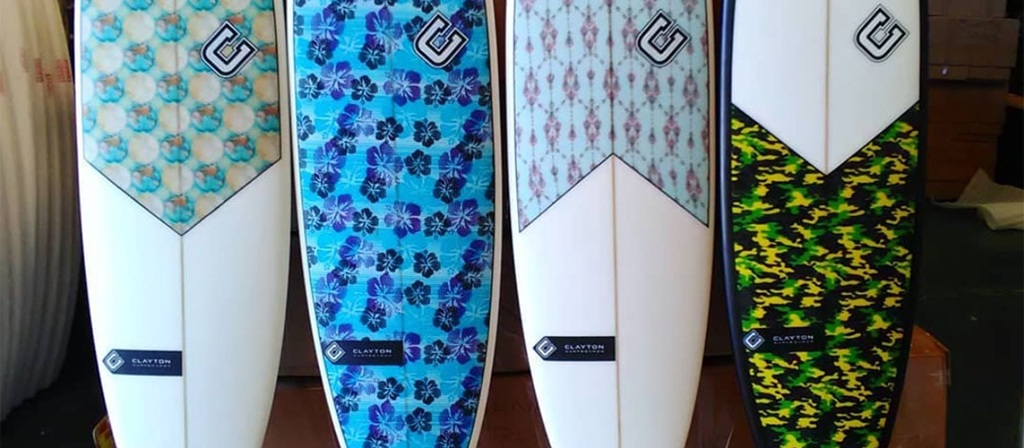
Before you grab your paintbrushes, proper preparation is crucial for a smooth and lasting finish. This stage ensures the paint adheres correctly and prevents any unwanted bubbling or peeling.
Cleaning and Sanding the Surface
- Thorough Cleaning: Begin by cleaning your surfboard with a mild soap and water solution. Remove any wax, dirt, or grime using a wax comb and specialized wax remover. This ensures the paint bonds properly.
- Sanding: Lightly sand the entire surface of the surfboard with fine-grit sandpaper (220-320 grit). This creates a slightly rough surface, providing better adhesion for the primer and paint. Focus on areas with existing dings or scratches.
- Final Wipe Down: After sanding, wipe down the board with a tack cloth or a clean, damp cloth to remove any dust particles. A clean surface is paramount for a professional finish.
Repairing Dings and Scratches
- Inspect for Damage: Carefully inspect the surfboard for any dings, cracks, or scratches. These imperfections will be visible through the paint if not properly repaired.
- Use Epoxy Resin: For minor dings, use a high-quality epoxy resin designed for surfboard repairs. Follow the manufacturer’s instructions for mixing and application.
- Sanding Repairs: Once the resin has cured, sand the repaired areas smooth with fine-grit sandpaper. Ensure the repaired areas are flush with the surrounding surface. This is a critical step for a seamless paint job.
Masking Off Areas
- Protect Unpainted Areas: Use painter’s tape or specialized surfboard masking tape to protect areas you don’t want to paint, such as the rails, fin boxes, and leash plug.
- Precise Masking: Ensure the tape is applied smoothly and securely to prevent paint bleed. Press the edges firmly to create a clean line.
- Consider Design: If you have a complex design in mind, carefully plan your masking strategy. Using stencils or freehand masking can achieve intricate patterns.
Choosing the Right Paint and Materials
Selecting the correct paint and materials is essential for a durable and vibrant finish. Consider the following options.
Types of Paint
- Acrylic Spray Paint: Ideal for beginners due to its ease of use and quick drying time. Opt for high-quality, UV-resistant acrylic spray paints designed for outdoor use.
- Epoxy Paint: Offers a more durable and glossy finish, but requires more skill and experience to apply. Best for those seeking a long-lasting, professional result.
- Automotive Paint: Provides a high-gloss, durable finish and a wide range of colors. Requires proper preparation and application techniques.
- Paint Pens: For small details or fine lines, paint pens can provide precision and control.
Necessary Materials
- Fine-grit sandpaper (220-320 grit)
- Tack cloth or clean cloth
- Painter’s tape or surfboard masking tape
- Epoxy resin (for repairs)
- Primer (compatible with your chosen paint)
- Spray paint or chosen paint
- Clear coat (UV-resistant)
- Paint brushes (for touch-ups or detailed work)
- Respirator or mask
- Gloves
The Painting Process: Step-by-Step
Now, let’s get to the exciting part: painting your surfboard.
Applying Primer
- Even Application: Apply a thin, even coat of primer to the entire surface of the surfboard. This creates a smooth base for the paint to adhere to.
- Drying Time: Allow the primer to dry completely according to the manufacturer’s instructions. A well-primed surface ensures the paint will adhere properly.
- Light Sanding: Lightly sand the primed surface with fine-grit sandpaper to smooth out any imperfections.
Applying the Base Coat
- Multiple Thin Coats: Apply multiple thin coats of your chosen base color, allowing each coat to dry completely before applying the next. This prevents drips and runs.
- Consistent Coverage: Ensure consistent coverage across the entire surface. Overlapping each pass slightly will help achieve an even finish.
- Avoid Over-Spraying: Avoid spraying too much paint in one area, as this can lead to runs and uneven drying.
Creating Your Design
- Stencils or Freehand: Use stencils or freehand techniques to create your desired design. Consider using different colors and patterns to personalize your surfboard.
- Masking for Patterns: If using multiple colors, carefully mask off areas to create clean lines and patterns.
- Layering Colors: Allow each color to dry completely before applying the next layer. This prevents colors from bleeding into each other.
Applying the Clear Coat
- Protection and Gloss: Apply several thin coats of a UV-resistant clear coat to protect the paint and add a glossy finish.
- Even Application: Ensure even application of the clear coat to prevent cloudiness or unevenness.
- Drying Time: Allow the clear coat to dry completely according to the manufacturer’s instructions.
Read More Also: Riding the Wave of Protection: Choosing the Right Canvas Surfboard Bag and Surfboard Covers
Finishing Touches and Maintenance
Once the paint and clear coat are dry, it’s time for the final touches.
Removing Masking Tape
- Careful Removal: Carefully remove the masking tape, pulling it away at a 45-degree angle to prevent paint chipping.
- Touch-Ups: Use a small brush or paint pen to touch up any areas where the paint may have bled or chipped.
Curing Time
- Allow Full Cure: Allow the paint and clear coat to fully cure for the recommended time (usually 24-48 hours) before using your surfboard.
- Avoid Contact: Avoid placing any heavy objects or applying pressure to the painted surface during the curing process.
Maintenance Tips
- Rinse After Use: Rinse your surfboard with fresh water after each use to remove salt and sand.
- Store Properly: Store your surfboard in a cool, dry place away from direct sunlight.
- Regular Inspections: Regularly inspect your surfboard for any damage or wear and tear.
Read More Also: What Size Saltwater Spinning Reel for Surf Fishing in Massachusetts?
By following these steps, you can create a stunning, customized surfboard that reflects your unique style. Learning how to paint a surfboard is a rewarding experience that allows you to personalize your ride.
Ready to transform your surfboard? Grab your supplies and start painting! Share your finished creations with us in the comments below!
Read More:
Forgotten Surf Pioneers of the Pacific Northwest
Top 5 Surf Forecasting Apps with Wave Energy Prediction

