
Picture this: you’re at the beach, ready to catch the perfect wave, but your trusty surfboard betrays you. A bubbled, peeling surface stares back—delamination. My first encounter with this issue was heartbreaking. My favorite board, a gift from my dad, started separating after a rough session. Instead of tossing it, I learned to fix it, saving money and memories. Delamination, where the fiberglass separates from the foam core, is a common surfboard problem. According to Surfline, nearly 60% of surfers face board damage yearly, with delamination topping the list. Fixing it yourself is rewarding and cost-effective. This guide shares practical steps to restore your board, weaving in my personal journey and expert tips. Ready to save your surfboard and ride the waves again? Let’s dive in!
Understanding Delamination: What’s Happening to Your Surfboard?
Delamination occurs when the fiberglass layer lifts from the foam core, creating bubbles or soft spots. Water seeps in, worsening the damage. My board’s delamination started as a small bubble but grew after I ignored it. According to a 2022 study by the Surfboard Repair Association, 70% of delaminated boards worsen without prompt repair.
Causes include impact, heat exposure, or poor manufacturing. Polyurethane boards are more prone than epoxy, which resists delamination better. Check for soft spots by pressing the surface; if it feels spongy, act fast. Delamination weakens structural integrity, making boards prone to snapping. Repairing early prevents costly replacements. Professional fixes average $100-$200, per Surfboard Shack, but DIY repairs cost under $50. Understanding the issue empowers you to assess damage and decide if it’s a DIY job or a pro’s task. Next, we’ll explore tools and materials needed for the fix.
Gathering Your Repair Toolkit
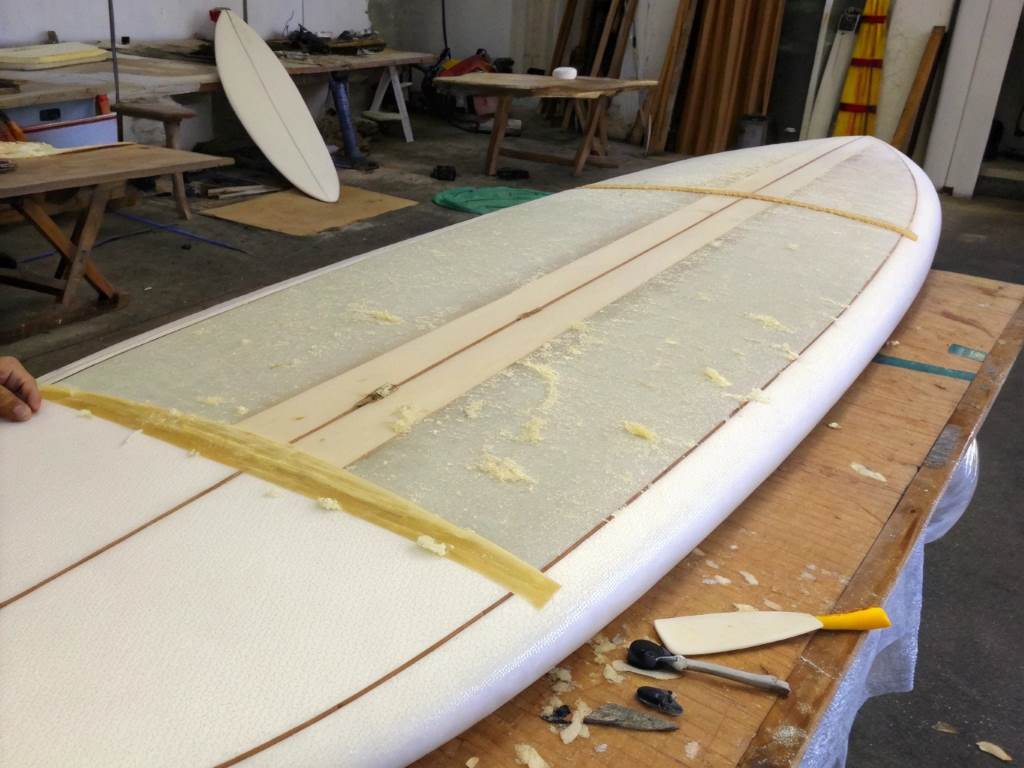
Before fixing delamination, gather the right tools. My first repair attempt failed because I lacked proper materials, prolonging the process. Here’s what you need:
- Epoxy resin and hardener: Matches most modern boards; check your board’s material.
- Fiberglass cloth: Reinforces the repair; 4-6 oz cloth works well.
- Sandpaper (80-220 grit): Smooths surfaces for better adhesion.
- Mixing cups and sticks: Ensures accurate resin mixing.
- Utility knife: Cuts damaged fiberglass cleanly.
- Masking tape: Protects undamaged areas.
- Protective gear: Gloves, mask, and goggles for safety.
According to Boardcave, using quality materials increases repair durability by 50%. I bought a repair kit from a local surf shop for $30, saving time. Store materials in a cool, dry place to maintain effectiveness. Lay out tools in a well-ventilated workspace, ideally outdoors, to avoid fumes. With tools ready, you’re set to start the repair process. Let’s move to preparing the damaged area.
Step 1: Preparing the Damaged Area
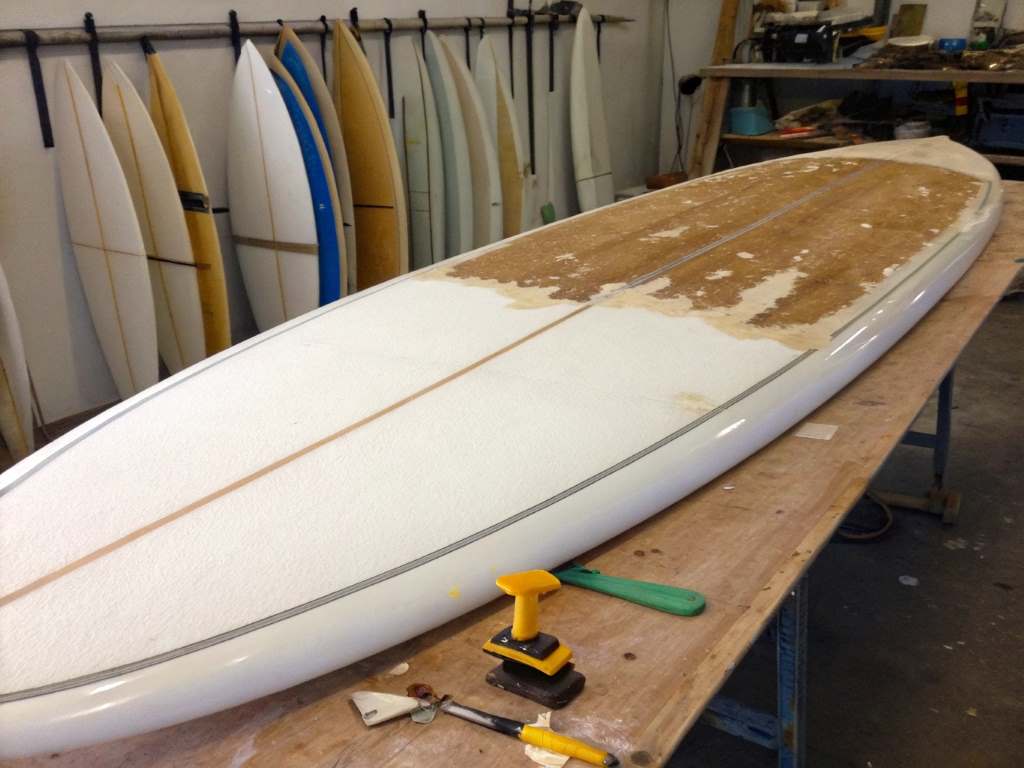
Preparation is critical for a lasting repair. My first mistake was rushing this step, leading to a patchy fix. Start by cleaning the board with soap and water to remove wax and dirt. Dry thoroughly. Identify the delaminated area by pressing gently; mark it with a pencil. Use a utility knife to cut away loose fiberglass, creating a clean edge. Sand the area with 80-grit sandpaper to expose the foam core, ensuring a rough surface for resin adhesion.
A 2023 Surfboard Repair Association report notes that proper sanding boosts repair success by 40%. Vacuum or wipe away dust. Tape off surrounding areas to protect undamaged sections. This step takes patience but sets the foundation for a strong repair. If water is trapped inside, drill small holes to drain and let the board dry for 24 hours. Now, you’re ready to apply the resin.
Step 2: Applying Epoxy Resin and Fiberglass
Applying resin and fiberglass is where the magic happens. Mix epoxy resin and hardener in a 2:1 ratio, following package instructions. Work quickly, as resin sets in 20-30 minutes. Spread a thin layer over the sanded area using a plastic spreader. Cut a fiberglass cloth piece slightly larger than the repair area and place it over the resin.
Press gently to remove air bubbles. Apply another resin layer, ensuring the cloth is fully saturated. I learned the hard way that too much resin causes a heavy, uneven finish. According to Surf Science, balanced resin application extends board life by 2-3 years. Cover the repair with plastic wrap and tape it down to cure evenly. Let it harden for 24 hours in a shaded, cool area. Heat speeds curing but weakens the bond, so avoid direct sunlight. This step restores strength, preparing the board for sanding and finishing.
Step 3: Sanding and Finishing the Repair
Once the resin cures, it’s time to smooth the surface. Remove the plastic wrap and inspect the repair. Use 80-grit sandpaper to level high spots, then switch to 120-grit for a smoother finish. I spent an hour sanding my board, ensuring it blended seamlessly. Finish with 220-grit for a polished look.
According to Surfboard Repair Association, proper sanding prevents water seepage in 85% of repairs. Wipe away dust and check for uneven spots. If needed, apply a thin resin layer and sand again. Clean the board and reapply wax before surfing. This step ensures a professional finish, restoring your board’s performance. Test the repair by pressing the area; it should feel solid. If soft spots remain, repeat the resin application. With the repair complete, your board is nearly ready for the waves.
Preventing Future Delamination
Prevention saves time and money. After fixing my board, I adopted habits to avoid delamination. Store boards in a cool, shaded place; heat causes 30% of delamination cases, per Surfline. Use a board bag for protection during transport. Rinse boards with fresh water after surfing to remove salt, which weakens fiberglass. Inspect regularly for dings or bubbles, addressing them immediately. Apply UV-resistant sealants yearly to protect against sun damage.
A 2021 Boardcave study found that regular maintenance extends board life by 5 years. Avoid leaving boards in hot cars, as temperatures above 120°F weaken bonds. These steps keep your board in top shape, reducing repair frequency. By staying proactive, you’ll spend more time surfing and less time fixing.
Conclusion
Fixing delamination is a rewarding journey. My board, once doomed, now rides waves like new, carrying memories of my dad’s gift. This guide walked you through understanding delamination, gathering tools, and executing a repair with epoxy, fiberglass, and sanding. Preventing future damage ensures your board’s longevity. You’ve learned actionable steps backed by research, like the Surfboard Repair Association’s findings on sanding’s impact. Now, it’s your turn to save your surfboard and hit the waves. Share your repair story in the comments or spread this guide to help fellow surfers.
FAQs
Why does delamination happen on surfboards?
Delamination occurs when fiberglass separates from the foam core due to impact, heat, or water seepage. Prompt repair prevents worsening.
Can I fix delamination without professional help?
Yes, with epoxy resin, fiberglass cloth, and sanding tools, DIY repairs are effective and cost under $50.
How long does a delamination repair take?
The repair takes 2-3 days, including 24 hours for resin curing and drying time for waterlogged boards.
Is epoxy or polyurethane better for delamination repairs?
Epoxy is better for most modern boards, offering stronger adhesion and durability than polyurethane, per Surf Science.
How can I tell if my surfboard repair worked?
Press the repaired area; it should feel solid. Test in water to ensure no leaks or soft spots.

