
Are you an avid surfer looking for a cozy solution to stay warm and dry after riding the waves? A surf poncho is the perfect DIY project! In this guide, we’ll show you how to make a surf poncho from scratch, ensuring it meets your exact needs. Plus, for those who prefer a ready-made option, we’ll recommend an excellent product to simplify your life.
Introduction to Surf Ponchos
A surf poncho is a versatile garment designed for surfers and beachgoers. Its primary purpose is to keep you warm, provide privacy when changing, and offer a lightweight, stylish solution for drying off after a surf session. Making your own allows you to customize its size, design, and fabric, ensuring it fits perfectly into your lifestyle.
Whether you’re a pro with a sewing machine or a novice, crafting your own Hooded Beach Towel or surf poncho can be a fulfilling experience. Let’s dive into what you’ll need and how to get started.
Materials Needed to Make a Surf Poncho

Before jumping into the process, gather these essential materials:
- Fabric: Choose an absorbent material like microfiber, terry cloth, or cotton. Opt for a fabric that is lightweight, durable, and quick-drying.
- Measuring Tape: Essential for ensuring the poncho fits your body dimensions.
- Scissors: Sharp scissors for cutting the fabric cleanly.
- Pins or Clips: To hold fabric pieces in place while sewing.
- Sewing Machine: While you can hand-sew, a machine speeds up the process and offers more precision.
- Thread: Select a thread color that matches or contrasts your fabric, depending on your design preference.
- Chalk or Fabric Marker: To mark cutting and sewing lines on the fabric.
Step-by-Step Instructions for Making a Surf Poncho

Step 1: Choose and Prepare Your Fabric
Start by selecting a fabric that feels soft against the skin and absorbs water effectively. Wash and dry the fabric beforehand to ensure it doesn’t shrink later.
Step 2: Take Your Measurements
Decide on the size of your poncho. A general guideline:
- Length: Measure from your shoulders to just below the knees.
- Width: Ensure it’s wide enough to allow easy movement and changing.
Use these measurements to cut two identical rectangles from the fabric and wetsuit changing towel.
Step 3: Create the Neck Opening
Fold one rectangle in half width-wise. Mark the center and cut a semi-circle to create a neck opening. Be cautious not to cut too large, as you can always adjust later.
Step 4: Sew the Pieces Together
Lay the two rectangles on top of each other with the right sides facing inward. Pin along the sides and top, leaving the neck hole and arm openings free. Sew along the edges, ensuring strong seams to withstand regular use.
Step 5: Hem the Edges
To prevent fraying, fold over the edges of the fabric and sew a hem around the neck hole, arm openings, and bottom. This step gives the poncho a polished finish.
Step 6: Add Customizations
Want to make your surf poncho unique? Add pockets, a hood, or embroidery for a personal touch. This is your chance to let creativity shine!
Why Make Your Own Surf Poncho?
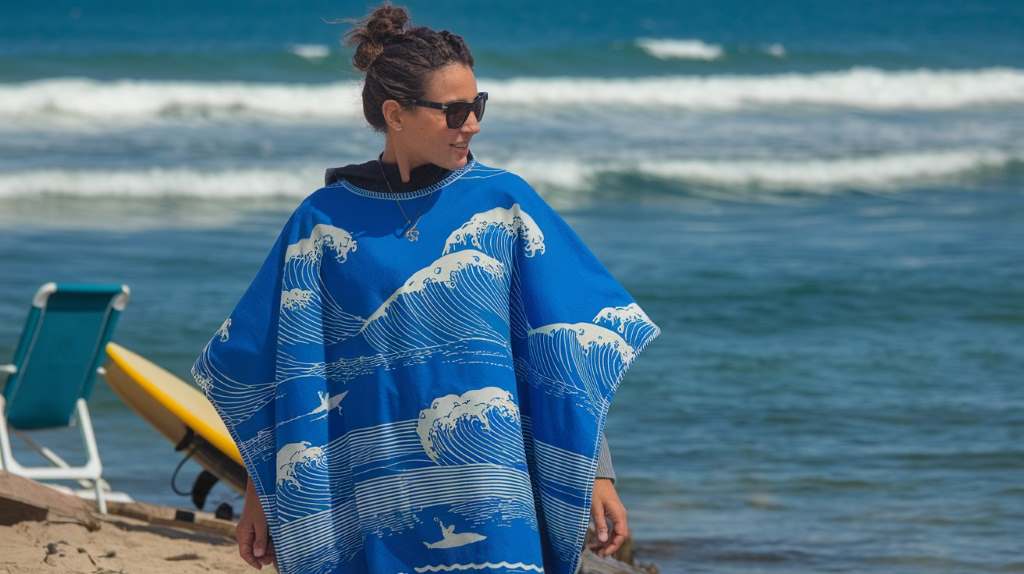
Crafting your own surf poncho comes with several benefits:
- Customization: Choose the exact size, fabric, and design features you need.
- Cost-Effective: DIY projects are often cheaper than purchasing high-end brands.
- Sustainability: Repurpose old beach towels or fabric to reduce waste.
However, if time or skills are a concern, consider purchasing a pre-made option like the Sun Cube Changing Poncho available on Amazon. Its microfiber material and convenient design make it a popular choice among surfers. If you cannot make a surfing poncho, you can try Sun Cube Changing Poncho or Hooded Beach Towel.
Make Hooded Towel Surf Poncho
Below is a comprehensive guide to help you craft your very own hooded towel surf poncho.

Materials Needed
- Towel Fabric:
- Size: Depending on your desired poncho size, typically a large beach towel (approximately 70″ x 140″) works well.
- Type: Preferably a soft, absorbent material like cotton terry or microfiber for quick drying.
- Fleece Fabric (Optional):
- Purpose: Adds warmth and extra absorbency.
- Size: Approximately 2-3 yards, depending on the desired thickness.
- Closure Materials:
- Drawstrings or Ties: For securing the hood and front opening.
- Rings or Toggles: To thread drawstrings through.
- Sewing Supplies:
- Thread: Durable, preferably polyester or cotton matching the fabric.
- Scissors or Rotary Cutter
- Measuring Tape or Ruler
- Pins or Clips
- Sewing Machine: For efficiency, though hand sewing is possible.
- Iron and Ironing Board: For pressing seams.
- Optional Decorative Elements:
- Embroidery Floss: For personalized designs.
- Fabric Paint or Markers
Tools Needed
- Sewing Machine: Ensures strong, even seams.
- Scissors or Rotary Cutter: For precise cutting of fabrics.
- Measuring Tape/Ruler: Accurate measurements are crucial.
- Pins or Clips: To hold fabric pieces in place before sewing.
- Iron and Ironing Board: For pressing seams and ensuring neatness.
- Sewing Patterns (Optional): You can use existing patterns or create your own.
Step-by-Step Instructions
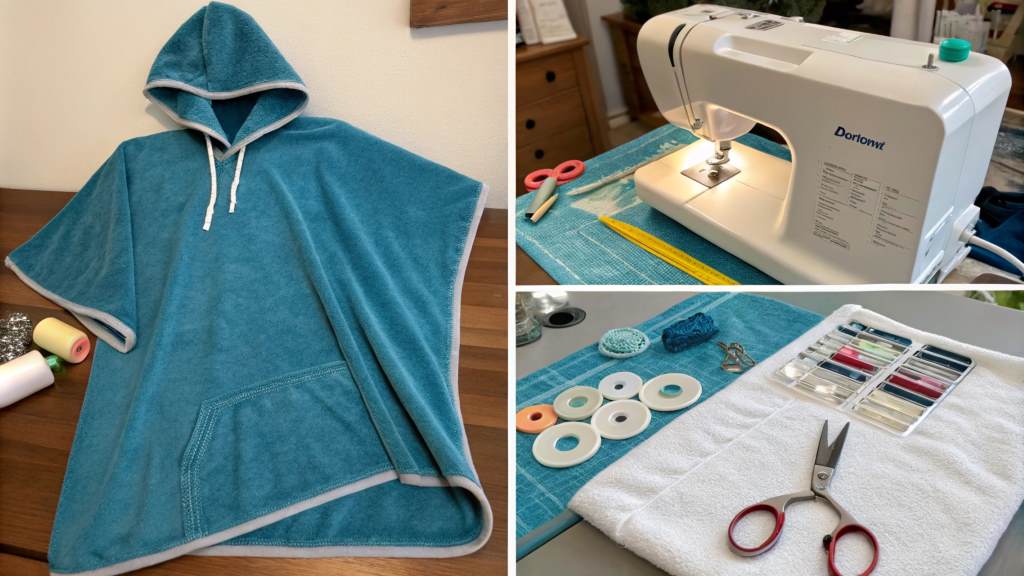
1. Prepare Your Fabrics
- Pre-Wash: Wash and dry all fabric to pre-shrink and remove any sizing. This ensures your poncho maintains its shape after use.
- Ironing: Press the fabrics to eliminate wrinkles, making cutting easier and sewing more accurate.
2. Measure and Cut the Fabric
- Main Body:
- Dimensions: A standard poncho size is approximately 70 inches wide and 140 inches long. Adjust according to your height and preference.
- Cut: Fold the towel fabric in half lengthwise. Cut a semicircle or a hood shape at the top center to create the hood opening. Alternatively, you can sew a separate hood later.
- Hood:
- Dimensions: A hood typically requires a piece about 20 inches wide and 25 inches deep, but adjust based on your head size.
- Cut: If sewing the hood separately, cut two identical pieces for a double-layered hood.
3. Sew the Main Body
- Fold and Sew Sides:
- Fold the towel fabric in half with the right sides facing each other.
- Sew the sides from the bottom up to the hood opening, leaving the top (hood area) open.
- Use a ½-inch seam allowance for durability.
4. Create and Attach the Hood
- Sew the Hood Pieces:
- If sewing a separate hood, place the two hood pieces right sides together.
- Sew around the edges, leaving the bottom edge open.
- Turn the hood right side out and press flat.
- Attach the Hood to the Poncho:
- Align the hood’s bottom edge with the poncho’s hood opening.
- Sew the hood to the poncho securely, ensuring there are no gaps.
5. Add Closures
- Drawstrings:
- Hood: Insert drawstrings into the hood for adjustable tightness.
- Front Opening: Add drawstrings or ties to the front for easy access and to keep the poncho closed.
- Installation:
- Sew small channels or use existing edges to thread the drawstrings through.
- Attach rings or toggles at the ends of the drawstrings for ease of use.
6. Hemming and Finishing Touches
- Hem the Edges:
- Fold the raw edges of the poncho and hood inward by about ½ inch and press.
- Sew the hems to prevent fraying and provide a clean finish.
- Decorate (Optional):
- Add personalized embroidery, fabric paint, or other decorative elements to make your poncho unique.
7. Adding Fleece Layers (Optional)
- Enhanced Warmth:
- For a warmer poncho, add a layer of fleece inside the towel fabric.
- Cut the fleece to match the towel pieces before sewing them together.
- Sewing Layers:
- Place the fleece and towel fabrics right sides together and sew along all edges except the hood and front opening.
- This creates a double-layered poncho with added warmth.
Why is Sun Cube Changing Poncho?

As an avid surfer and outdoor enthusiast, I’m constantly on the lookout for gear that makes my beach experience smoother and more comfortable. One piece of equipment I never knew I needed until I tried it is the Sun Cube Changing Poncho. After several months of regular use, I can confidently say it has become a staple in my surfing routine. Here’s an in-depth look at my experience with this product, highlighting its strengths and areas where it could improve.
First Impressions: Design and Build Quality
The first thing I noticed when unboxing the Sun Cube Changing Poncho was its impressive build quality. Made of soft microfiber material, the poncho feels plush and durable. It’s lightweight yet substantial enough to keep me warm after a chilly surf session. The stitching is neat, and the material feels sturdy enough to withstand frequent washing and rugged use.
The design is another standout feature. With its wide armholes and roomy hood, it’s incredibly practical for changing in public without worrying about exposure. The length is perfect—long enough to provide full coverage but not so long that it feels cumbersome. I chose the navy blue option, but the variety of colors ensures there’s something for everyone.
Performance in Real-World Use
Comfort and Warmth
One of the primary reasons I purchased the Sun Cube Poncho was to have something warm and cozy to wear after surfing. It exceeded my expectations. The microfiber material dries quickly and feels soft against the skin, even when damp. On cooler mornings, the poncho acts like a warm cocoon, keeping the post-surf chill at bay.
Ease of Changing
The poncho’s design makes changing out of wetsuits or swimwear in public a breeze. The wide armholes provide ample room to maneuver, while the generous fit ensures privacy. The hood is an added bonus, especially on windy days, as it helps keep my head warm and prevents hair from whipping around.
Portability
Despite its size, the Sun Cube Changing Poncho is surprisingly portable. It folds compactly enough to fit into my beach bag, which is crucial for someone like me who carries a lot of gear. The lightweight fabric also means it doesn’t add unnecessary bulk.
Maintenance and Durability
Over the months, I’ve washed both the poncho and the wetsuit changing towel numerous times, and they have held up well. The colors remain vibrant, and the fabric of both hasn’t pilled or lost its absorbency. The drying time is quick, which is essential for products exposed to saltwater and frequent washes.
The only minor issue I’ve noticed is that the edges around the armholes started to fray slightly after heavy use. However, this was easily fixed with a quick trim, and it hasn’t affected the overall functionality.
Versatility Beyond Surfing
What surprised me the most about the Sun Cube Changing Poncho is its versatility. While its primary purpose is for surfers, I’ve found it equally useful for other activities:
- Beach Trips: It doubles as a towel poncho and cover-up.
- Camping: The poncho’s warmth and portability make it a great companion for chilly mornings.
- Swimming Pools: I’ve used it after pool sessions when I don’t want to carry a separate towel and robe.
It’s even handy at home when I want to lounge in something comfortable after a shower with my wetsuit changing towel!
Comparison to Competitors
Before settling on the Sun Cube Changing Poncho, I researched several alternatives. Most fell into two categories: overly expensive premium options or budget options with questionable durability. The Sun Cube hits a sweet spot between quality and affordability, offering premium features at a reasonable price.
Compared to traditional beach towels or less structured ponchos, this wetsuit changing towel’s design is more practical for changing, and the microfiber material dries much faster.
Pros and Cons
Pros
- Excellent Comfort: Soft and absorbent microfiber material.
- Great Coverage: Perfect length and roomy fit for privacy.
- Durable Construction: Withstands frequent use and washing.
- Lightweight and Portable: Easy to pack for trips.
- Stylish and Versatile: Available in multiple colors and useful for various activities.
Cons
- Minor Fraying: The armhole edges may need occasional maintenance.
- Size Considerations: While the fit is great for most, petite users may find it slightly oversized.
Who Should Buy the Sun Cube Changing Poncho?
The Sun Cube Changing Poncho is ideal for:
- Surfers who need a practical, warm, and portable changing solution.
- Beachgoers looking for a multipurpose towel and cover-up.
- Campers and outdoor enthusiasts who value warmth and convenience.
- Swimmers who want a quick-drying, comfortable robe alternative.
Care Tips for Your Surf Poncho
Whether you’ve made your poncho or bought one, proper care ensures longevity:
- Wash with mild detergent to prevent damage to the fabric.
- Air-dry to maintain its shape and avoid shrinkage.
- Store in a dry place to prevent mildew.
Make a Surf Poncho Using Old Clothes
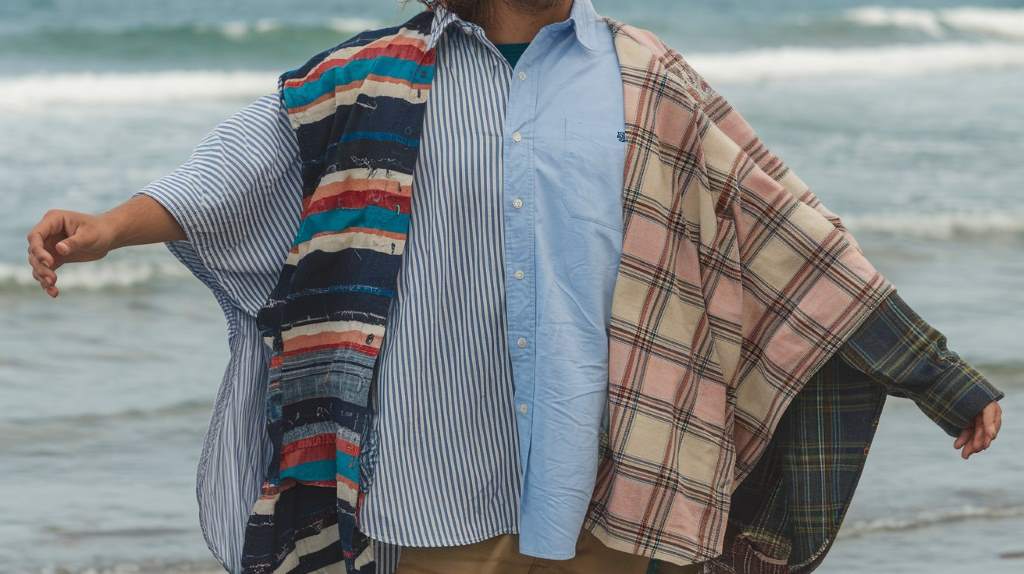
Here’s a step-by-step guide to making a surf poncho using old clothes:
Materials Needed:
- Two large old beach towels or oversized t-shirts (or one large towel for minimal stitching).
- Old hoodie or sweatshirt for reference (optional).
- Scissors.
- Thread and needle or a sewing machine.
- Chalk or fabric marker.
- Measuring tape.
- Pins (optional, for securing fabric during sewing).
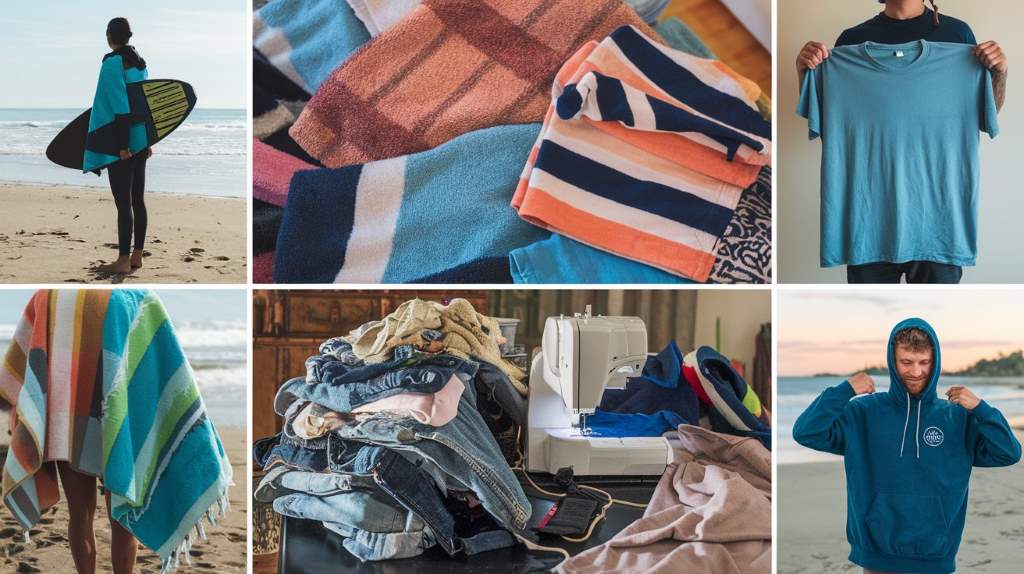
Steps:
1. Plan and Measure
- Decide on the size of your poncho:
- Length: Measure from your shoulders to just below your knees (adjust for preference).
- Width: Ensure it’s wide enough to fit comfortably, including arm movement.
- Mark these dimensions on your towels or old t-shirts using chalk or a fabric marker.
2. Cut the Fabric
- Lay the fabric flat.
- Cut two rectangles of the same size based on your measurements (front and back panels).
- If using t-shirts, cut off the sleeves and side seams to create flat panels.
- Optional: For a hood, cut a piece of fabric approximately 12″ x 24″ (adjust for head size).
3. Create the Neck Opening
- Fold one of the panels in half widthwise and cut a semi-circle or V-shape at the center to create the neck opening.
- Test the size on your head, ensuring it’s comfortable but not too loose.
4. Attach Front and Back Panels
- Place the panels right sides together (the sides that will be outside when finished).
- Sew the shoulder seams, leaving the neck opening untouched.
- Sew the side seams, leaving enough space for armholes (about 6–8 inches from the top edge).
5. Add a Hood (Optional)
- Fold the hood fabric in half lengthwise, sewing along one edge to create a curved shape.
- Attach the hood to the neck opening by aligning the edges and sewing securely.
6. Finish the Edges
- Hem the edges of the poncho by folding over the raw fabric about ½ inch and sewing it down.
- This prevents fraying and adds a polished look.
7. Customize
- Add a kangaroo pocket: Use leftover fabric to sew a pocket on the front.
- Decorate with fabric paint, patches, or embroidery for a personalized touch.
FAQs
What type of fabric is best for a surf poncho?
Microfiber, terry cloth, or cotton are excellent choices due to their absorbency and quick-drying properties.
Can I make a surf poncho without a sewing machine?
Yes, you can hand-sew the pieces together, but it may take longer and require more effort.
What size should I make my surf poncho?
Measure from your shoulders to just below your knees for length and ensure enough width for easy changing.
How do I customize my surf poncho?
Add pockets, a hood, or designs like embroidery or patches to make it uniquely yours.
Is it cheaper to make or buy a surf poncho?
Making one can be more cost-effective if you already have sewing tools and fabric. However, buying a ready-made option like the Sun Cube Changing Poncho saves time and effort.
What are the benefits of a surf poncho?
It provides warmth, privacy, and convenience for surfers and beachgoers, making post-surfing changing a breeze.
Conclusion
Making a surf poncho is a rewarding project that blends functionality and creativity. Whether you choose to make your own or opt for a high-quality product like the Sun Cube Changing Poncho, the result is a comfortable and practical garment for all your surfing adventures.

